
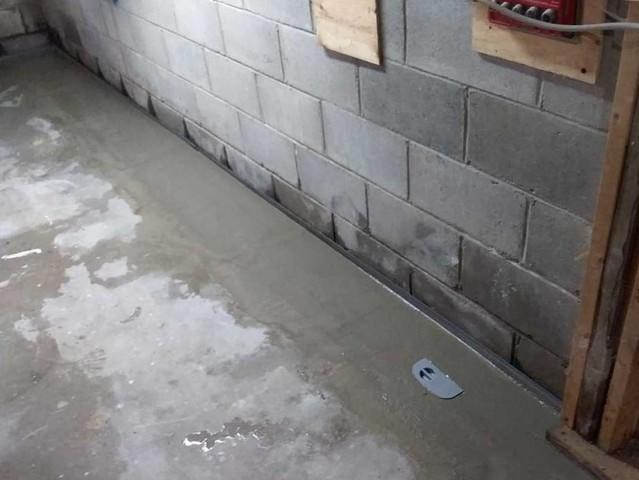
Waterproofing an unfinished space
In the unfinished area of the basement, we created an in-floor drain which effectively moves any and all leaking water into their new heavy-duty sump pump system. We then finished the floor with fresh concrete. This area is now a clean and dry space for storage - just what the homeowners wanted!
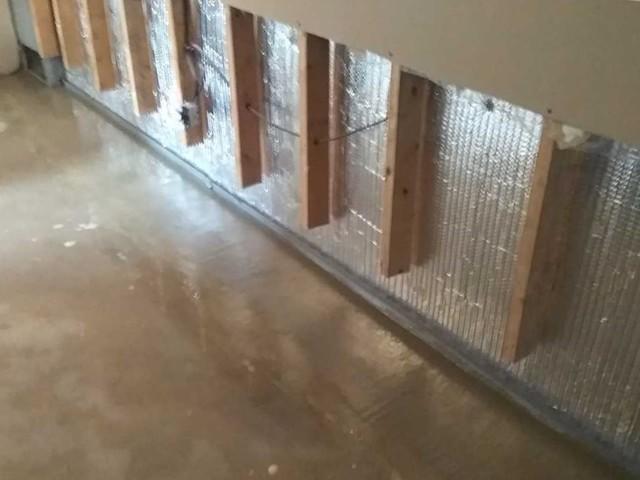
Waterproofing a finished space
Here's what we did: - We removed the mouldy drywall and the damaged area of the wall joists on all the walls where water penetrated. - We created an in-floor drain to move any water into their updated sump pump system. - Behind the walls we installed a thermal vapour barrier which serves two purposes, 1) it helps move any leaking water into the drain below and 2) helps improve the home's comfort as a thermal barrier. - We then sistered the existing joists with waterproof steel joists.
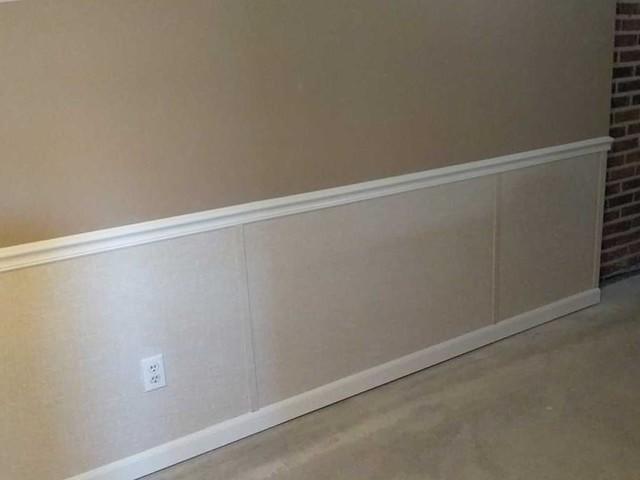
Finishing the space
These homeowners opted to finish the space with our EverLast™ Wall Restoration System. It not only looks fantastic, it's non-organic, so it will never be damaged or become mouldy. The homeowners can now confidently finish the floor and enjoy their downstairs living space.
