
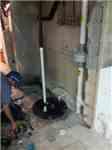
Sump Pump
The customer's original sump pump.
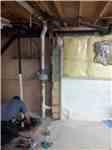
Installation Process
Joel Desjardins, our Service Technician, is installing the sealed lid for the sump pump in order to properly exhaust the Radon out of the living space.
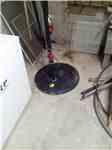
Installed Radon Mitigation System
Our Service Technician, Joel Desjardins,just finished installing the sealed lid for the sump pump.
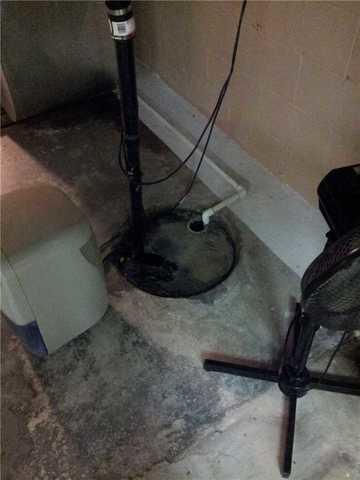
Sealed Sump Pump
The sump pump was completed and now has the sealed lid attached in order to properly exhaust the Radon out of the living space.
