
Leaky Basement Walls
Evidence of water intrusion.
Installing a Perimeter Drain
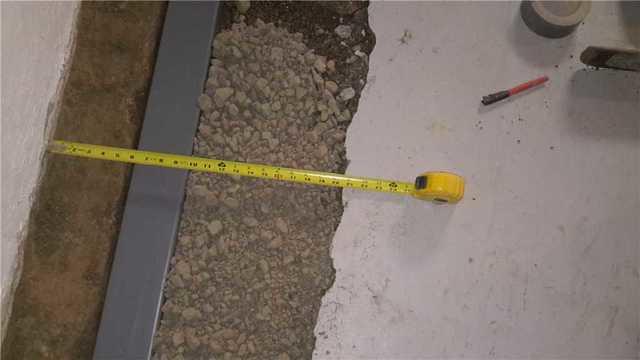
We remove a section of the floor along the walls where the water enters.
New Drainage System
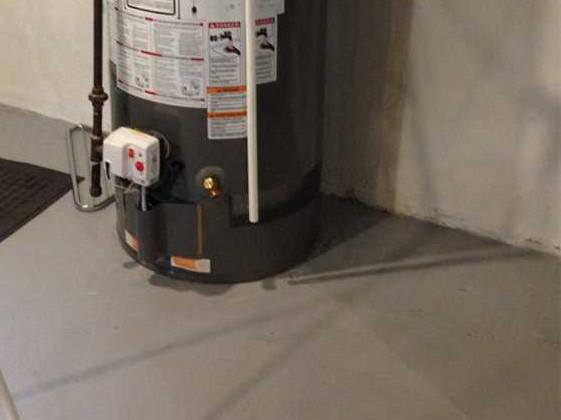
Our interior waterproofing system allows us to work around existing fixtures.

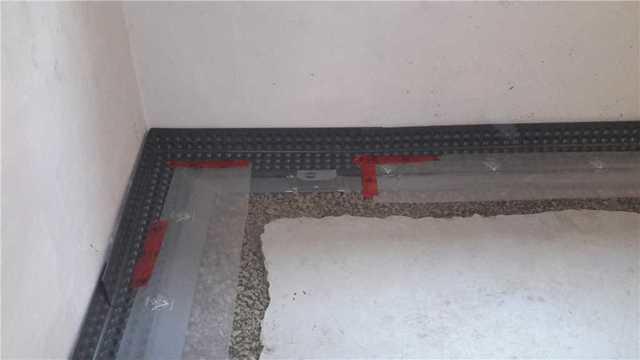
Drain System
The leaking water is directed into a newly installed drain.

3 Affected Walls
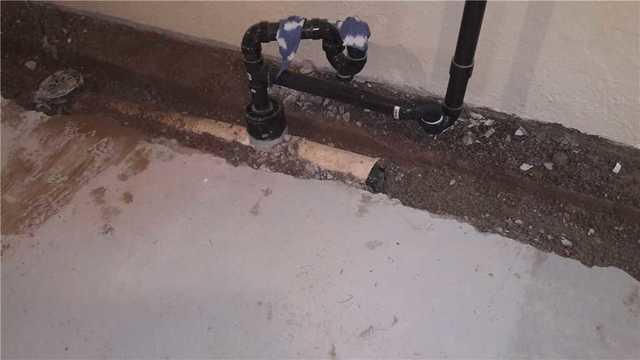
We continue this process on all the affected areas in the basement.
Almost There...
Once the drain is installed, we will finish the area with concrete.
Finished with Concrete
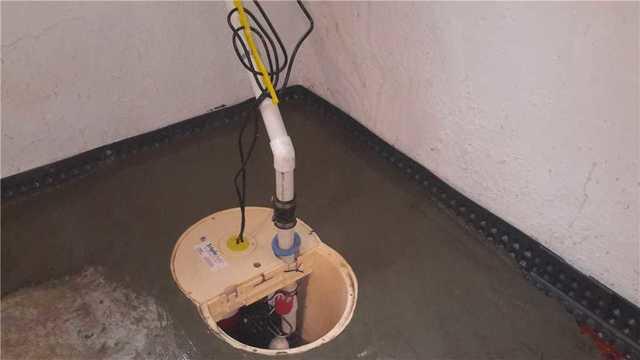
Any leaking water is now safely diverted into the newly installed sump pump.
